
Overview
Combine location, invoice, product, and customer filters to target precisely.
1. Start a new group
1) Click New in the Customer Groups screen.
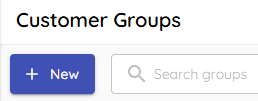
You’ll see a starter definition covering recent purchases and no-invoice prospects.

This gives you a base to refine. Use the Customer Segment Builder to determine your group settings.
2. Choose Target
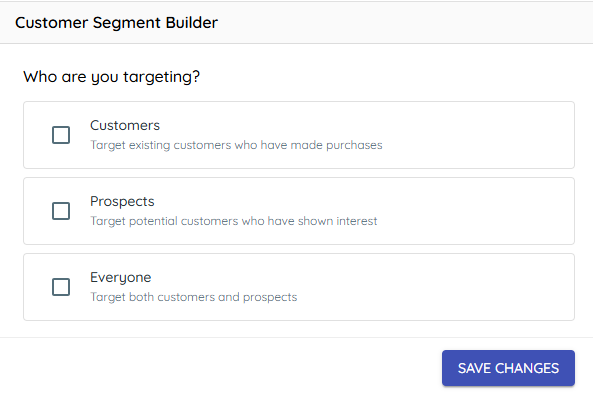
1) Choose the checkbox that applies to your purpose for building this customer group. This will determine all subsequent choices available.
You may have any/all of the following filter types available, depending on your choice:
3. Identify Your Audience
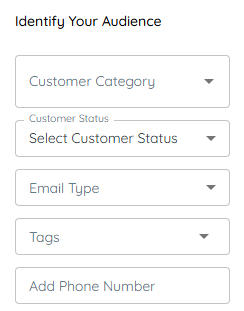
1) Here you can target specific customer records by their:
Customer Category: Uses the same categories as your DMS to select customer records. You can choose multiple categories.
Customer Status: The TargetCRM specific field tracking where in the buying process a customer record is. Set in the Customer Detail Screen.
Email Type: This allows you to choose between personal and business email addresses. This field only applies if you are sending email broadcasts, it has no impact on text message broadcasts.
Tags: The TargetCRM specific tags that can be applied to a customer record to identify them using custom verbiage.
Add Phone Number: This will allow you to build a customer group only for customers that match the phone numbers entered into this field.
4. Include Related Contacts

Flipping this toggle will allow your customer group to include cell phone numbers or email addresses for related contacts that are tied to a main customer record, such as employees at a commercial customer.
5. Filter by Geographic Location
1) Flip this toggle to organize your customer group based on the customer’s location.
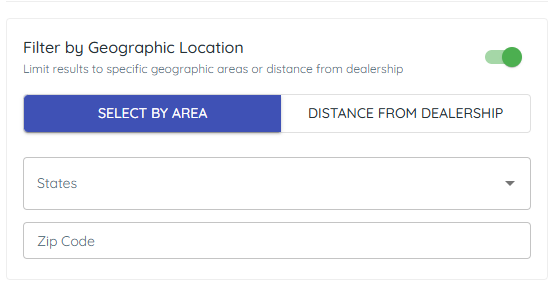
This will allow you to find customers based on their State (or province) or Zip Code (or Postal Code), and you can enter multiple.
You can also choose to narrow customers based on their relative distance from one of your dealership locations.
6. Filter by Purchase History (Customers Only)
1) Flipping this toggle will allow you to narrow your customer group based on their purchase history with your business.
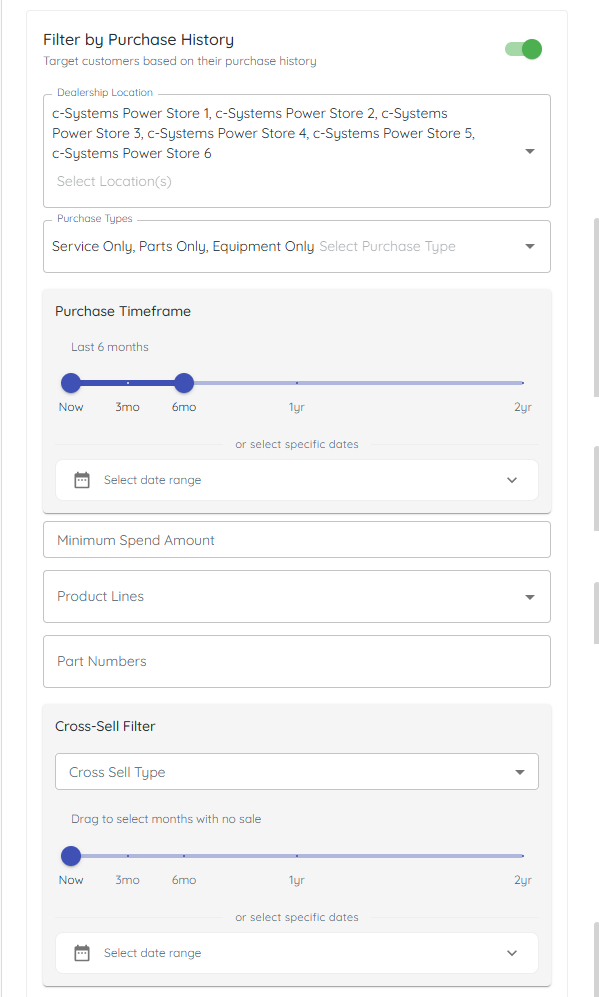
2) Here you can filter your customers by:
Dealership Location: Which of your stores did the customer purchase from?
Purchase Type: What type of purchase(s) do you wish to include?
Purchase Timeframe: How long ago was the purchase? You can use the slider, or enter a specific date range. The slider will automatically update with the passage of time, but manually entered date ranges will require manual updates.
Minimum Spend Amount: This field looks at lifetime spend for each customers, and will only include customers who have spent more than the amount entered.
Product Lines: This field looks at specific product lines the customer has purchased from you. You can choose multiple product lines from among all the lines your store works with.
Part Numbers: This allows you to choose specific part numbers to find in customer purchase history. Handy for recalls.
Cross-Sell Filter: Remove customers who have had a recent purchase. You can choose the date range using the slider, or manually enter a date range, but remember that manually entered dates will require manual updates as time passes.
7. Filter Based on Deals
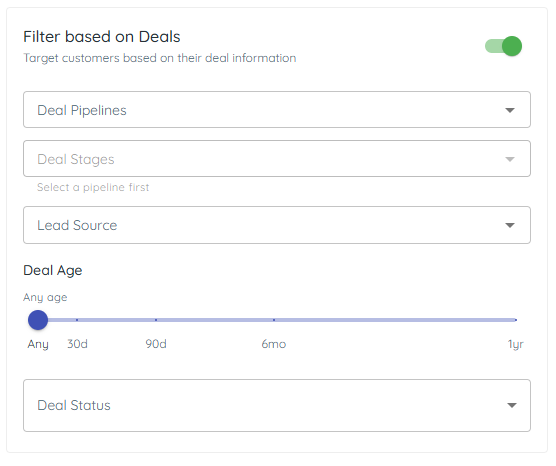
1) Selecting this toggle allows you to include customer records based on where their deal card is on the Deals screen. You can filter based on Pipeline, Stage(s), Lead Source, Age, and current Status.
We recommend using Status and/or age to make sure you are not accidentally including customers with old closed deals.
8. Save and review members
1) Click Save Changes.
You’ll see the group update based on your filters and can search for expected names.

Adjust filters if expected customers aren’t included.
Tips to Work Faster
– Prefer the slider for rolling windows; use date range for fixed campaigns.
Related KB articles
– Apply Customer Status and Customer tags to a Customer Record
– Choose broadcast recipients with Customer Groups