Overview
Set the essentials for compliant and efficient messaging.
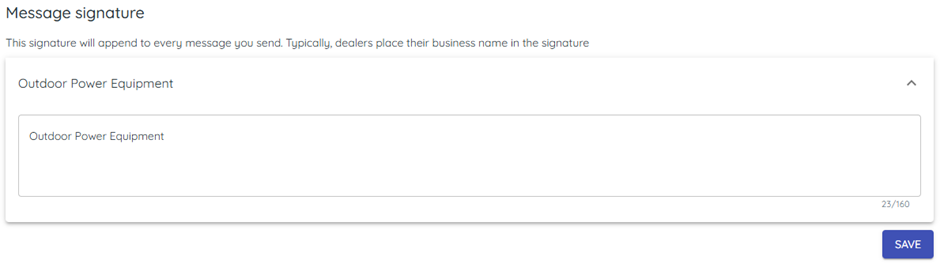
1. Signature (General settings)
1) Open Settings > General and edit the store signature.
You’ll see the signature appended to every text from that store.
Include your business name for clarity.
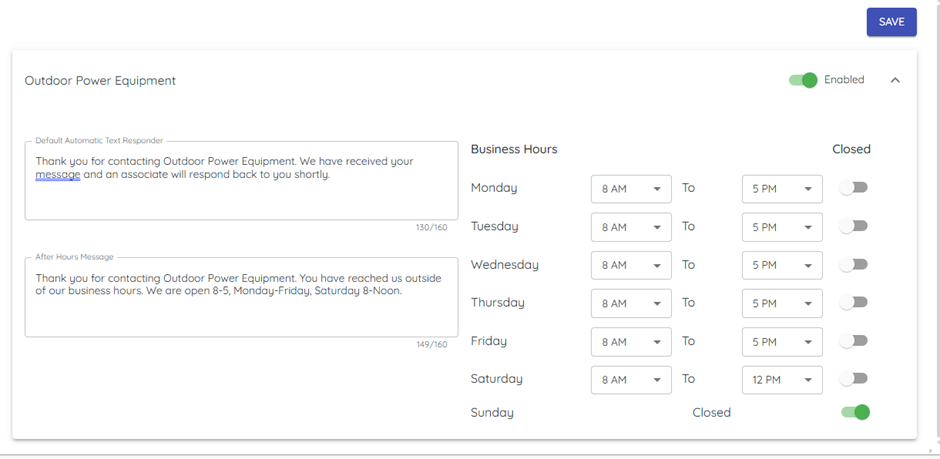
2. Autoresponder (per store)
1) Open Settings > Autoresponder; edit Default Automatic Text Responder/After Hours Message and Business Hours.
You’ll see first‑text‑of‑day auto replies (during or after hours).
Customers feel acknowledged even before staff reply.
3. Quick Messages (templates)
1) Open Settings > Quick Messages and add/edit templates.
You’ll see templates available in Messenger by department access.
Use merge tags for customer personalization.
4. Payments (support‑managed)
1) Open Settings > Payments to verify credentials.
You’ll see integration enabled when set by support.
Contact support via Chat if these fields are blank.
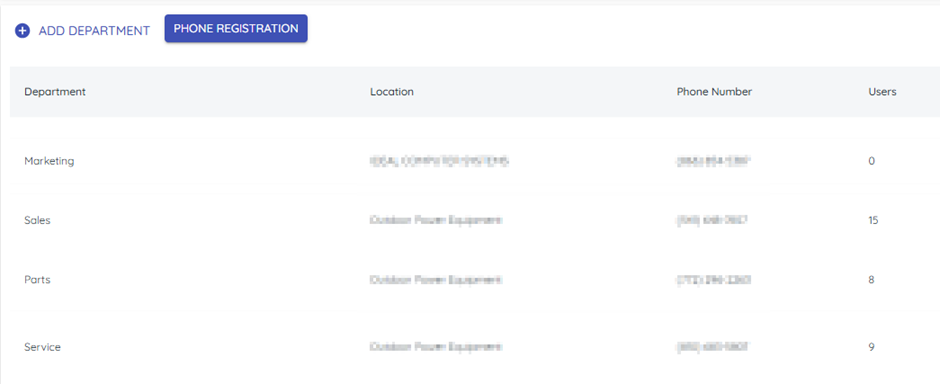
5. Departments and numbers
1) Open Settings > Departments to view your department phone numbers.
You’ll typically see local numbers for Sales/Service/Parts and an 800 number for Marketing.
Inbound calls to texting numbers auto‑forward to your store; support can set forwarding for new departments.
Support Tip: Auto-forwarding for new department numbers is also handled by support.
6. Website Widget (Text Us Now!)
1) Open Settings > Widget and copy your widget script to your web provider.
You’ll see a “Text us” button on your site.
Customers enter name and mobile so you can reply by text.


Related KB articles